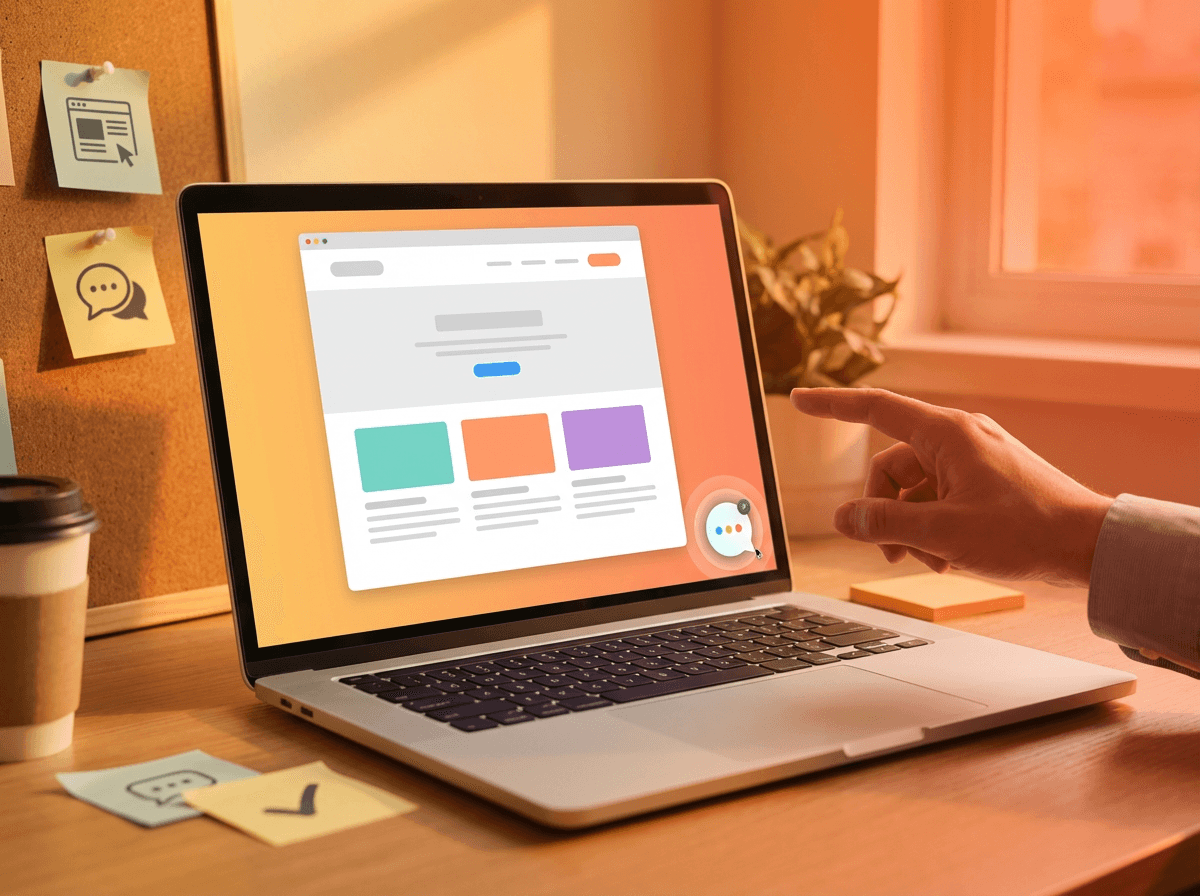
You have decided to add an AI chatbot to your website. Smart move—chatbots increase lead capture by 40%, reduce bounce rates by 25%, and provide 24/7 customer support without hiring night shifts. But now you are staring at your website wondering: How do I actually install this thing?
The good news: adding BuiltABot to your website takes just 15-30 minutes and requires zero coding skills. Whether you use WordPress, Shopify, Squarespace, or a custom website, the process is simple: get your embed code from BuiltABot, paste it into your website, and you are live.
This complete guide walks you through installation for every major platform with step-by-step instructions, screenshots references, troubleshooting tips, and testing checklists. By the end of this tutorial, your BuiltABot chatbot will be live on your website, answering questions and capturing leads 24/7.
Why Add an AI Chatbot to Your Website?
Before diving into the how, let us quickly cover the why. Adding BuiltABot to your website delivers immediate, measurable benefits:
- 24/7 Customer Support: Answer questions instantly, even at 2am on Saturday. Never lose another after-hours customer to competitors.
- 40% More Leads: BuiltABot proactively engages visitors and captures contact information through conversational lead forms.
- 25% Lower Bounce Rate: Visitors who engage with chat stay 3x longer and view more pages.
- Time Savings: Automate answers to your top 30 questions, saving 10-20 hours weekly for small teams.
- Revenue Capture: Reduce cart abandonment by 15-30% by answering product questions in real-time.
Companies using BuiltABot report average ROI of 400-800% within first year. The 15-minute installation effort pays for itself hundreds of times over.
The BuiltABot Advantage: 15-Minute Setup
Why we recommend BuiltABot for your website chatbot:
- One line of code: Unlike complex chatbots requiring multiple scripts, BuiltABot is single script tag. Copy, paste, done.
- Universal compatibility: Works on WordPress, Shopify, Squarespace, custom sites—any platform that allows code.
- No coding required: Even if you have never seen HTML, our platform-specific instructions make installation foolproof.
- Instant activation: Chatbot appears on your site immediately after pasting code. No waiting for propagation or approval.
- Dashboard customization: All changes (colors, messages, features) happen in BuiltABot dashboard. Never touch website code again after initial install.
- Mobile-responsive: Automatically works perfectly on phones and tablets with zero additional configuration.
- Free trial: Test BuiltABot for 14 days free before installing on your live site.
What You Need Before Starting
Gather these items for smooth installation:
- BuiltABot account: Sign up free here (takes 2 minutes)
- Your website admin access: Login credentials for WordPress, Shopify, or website builder
- 15-30 minutes: Actual installation time
That is it! No technical knowledge, no developer, no special tools needed.
Method 1: Add BuiltABot to WordPress (10-15 Minutes)
WordPress powers 43% of all websites. Here are two methods to add BuiltABot to WordPress—choose the one you are most comfortable with.
Get Your BuiltABot Embed Code First
Before touching WordPress, get your personalized code from BuiltABot:
- Log into your BuiltABot dashboard
- Click on your assistant
- Navigate to Customize and Preview tab
- Click Get Embed Code and Testing Instructions button
- Choose Minimal Code (recommended for most users)
- Copy the complete script provided
Your code looks like: <script src="https://www.chat.builtabot.com/widget.js" data-project-id="your-id" defer></script>
WordPress Method A: Using Plugin (Easiest for Beginners)
- Step 1: In WordPress admin, go to Plugins then Add New Plugin
- Step 2: Search for Insert Headers and Footers (free plugin)
- Step 3: Click Install Now, then Activate
- Step 4: Go to Settings then Insert Headers and Footers
- Step 5: Paste your BuiltABot script in Scripts in Footer box
- Step 6: Click Save
- Done! Visit your website—BuiltABot appears in bottom-right corner
Why this method: Plugin survives theme updates, no risk of breaking your site, easiest to remove later if needed. This is how most WordPress users install BuiltABot.
WordPress Method B: Edit Theme File (For Advanced Users)
- Step 1: In WordPress admin, go to Appearance then Theme Editor
- Step 2: Select your active theme from dropdown
- Step 3: Click on footer.php from file list (right side)
- Step 4: Scroll down to find closing body tag (looks like </body>)
- Step 5: Paste your BuiltABot script right BEFORE the closing body tag
- Step 6: Click Update File
- Done! BuiltABot is now on all your pages
Warning: Theme updates may overwrite this. Use a child theme or Method A for safer long-term installation.
Method 2: Add BuiltABot to Shopify (15-20 Minutes)
Shopify stores benefit hugely from AI chatbots—answer product questions, reduce cart abandonment, provide order tracking. Here is how to add BuiltABot:
Shopify Installation Steps
- Step 1: Get your BuiltABot embed code from dashboard (as described above)
- Step 2: Log into your Shopify admin
- Step 3: Go to Online Store then Themes
- Step 4: On your active theme, click Actions then Edit code
- Step 5: In the Layout folder (left sidebar), click theme.liquid
- Step 6: Press Cmd+F (Mac) or Ctrl+F (Windows) and search for </body>
- Step 7: Paste your BuiltABot script right before the closing body tag
- Step 8: Click Save (top right)
- Done! Visit your store to see BuiltABot live
Shopify-Specific Benefits
BuiltABot integrates with Shopify to provide e-commerce specific features:
- Answer product questions using your catalog
- Provide order tracking and status updates
- Reduce cart abandonment with instant help
- Collect leads for email marketing
- Schedule consultations for high-ticket items
Shopify store owners report 20-35% reduction in cart abandonment after adding BuiltABot because customers get instant answers to sizing, shipping, and product questions.
Method 3: Add to Squarespace, Custom Sites (10-15 Minutes)
BuiltABot works on any website that allows custom code. Here is how for popular builders and custom sites.
Note: Wix is not supported due to their January 2025 iframe sandboxing changes that block third-party widgets.
Squarespace Installation
- Log into Squarespace account
- Go to Settings then Advanced then Code Injection
- Paste your BuiltABot script in Footer box
- Click Save
- Changes are automatically live
Webflow Installation
- Open Webflow Designer
- Click Pages panel (left sidebar)
- Click gear icon next to page name
- Scroll to Custom Code section
- Paste BuiltABot script in Footer Code
- Click Save then Publish
Custom HTML Websites
- Open your HTML file or template
- Find the closing body tag (typically near end of file)
- Paste your BuiltABot script before </body>
- Save and upload to your web server
- Done in 5 minutes!
React, Next.js, Vue, Angular
For modern JavaScript frameworks:
- Next.js: Use Script component with strategy="afterInteractive"
- React: Add to public/index.html or use useEffect hook
- Vue: Add to public/index.html or use mounted lifecycle
- Angular: Add to src/index.html or use Renderer2
Detailed framework instructions available on BuiltABot documentation page.
Testing Your Installation
After installing, verify BuiltABot works correctly before announcing to customers.
Visual Check (2 Minutes)
- Visit your website in a new browser tab
- Look for chat widget in bottom-right corner (or your chosen position)
- Widget should appear as floating button with your chosen icon
- Click to open—chat interface should expand smoothly
Functionality Test (10 Minutes)
- Test conversation: Send 5-10 messages asking common questions
- Verify accuracy: Confirm BuiltABot provides correct answers from your training data
- Test Quick Replies: If enabled, click suggestion chips to ensure they work
- Test lead form: If enabled, submit a test lead to verify capture works
- Check mobile: Open your website on phone to test mobile experience
Browser Testing (5 Minutes)
Test in multiple browsers to ensure compatibility:
- Chrome (most users)
- Safari (Mac and iPhone users)
- Firefox (alternative users)
- Edge (Windows users)
BuiltABot works in all modern browsers, but quick checks prevent any surprise issues.
Speed Test (3 Minutes)
- Use Google PageSpeed Insights to test your site
- Check score before and after adding BuiltABot
- Acceptable: 0-3 point change (BuiltABot optimized for speed)
- If score drops significantly, contact BuiltABot support
Customizing Your Chatbot After Installation
Here is the magic of BuiltABot: all customization happens in your dashboard, not in code. After installing once, you never touch your website code again. All changes happen instantly through the dashboard.
Appearance Customization
- Colors: Set primary color to match your brand using color picker
- Position: Toggle between bottom-right and bottom-left placement
- Icon style: Choose from 6 launcher icons (bubble, messages, chat, assistant, smiley, bot)
- Widget size: Select small, medium, or large based on your preference
- Theme: Light, dark, or system (follows user device preference)
- Custom font: Match your website typography (optional)
Message Customization
- Assistant name: What appears in chat header (e.g., Support Assistant)
- Welcome message: First message users see (e.g., Hello! How can I help you today?)
- Placeholder text: Hint in message input field
- Out-of-scope response: What to say for questions outside your business
Advanced Features (Enable from Dashboard)
- Quick Reply suggestions: Pre-written question chips users can click
- Lead capture form: Collect name, email, phone before or during chat
- Appointment scheduling: Let customers book directly through chat (connects to Google Calendar)
- Source attribution: Show links to where answers come from (builds trust)
All these features enable through simple toggles and forms in your BuiltABot dashboard. Test changes using live preview before they go live to customers.
Troubleshooting Common Issues
Occasionally, installations hit snags. Here are solutions to common problems:
Chatbot Not Appearing?
- Check code placement: Must be before closing body tag, not after
- Verify project ID: Make sure it matches your BuiltABot dashboard
- Clear cache: Browser caching can hide new code (try incognito mode)
- Check console: Press F12, look for JavaScript errors in Console tab
- Wait 5 minutes: Some platforms cache aggressively—give it time
Chatbot Won't Open?
- Disable ad blockers: Some blockers hide chat widgets
- Check for conflicts: Temporarily disable other chat plugins to test
- Try different browser: Isolate whether it is browser-specific
Changes Not Showing?
- Hard refresh: Cmd+Shift+R (Mac) or Ctrl+Shift+R (Windows)
- Incognito mode: Opens with zero cache for true testing
- Clear site cache: If using caching plugins (WP Super Cache, etc.), clear them
Multiple Chatbots Showing?
- Check for duplicate code: Script should only appear once in your website code
- Disable old chatbots: Remove any previous chat solutions before adding BuiltABot
- Review plugins: Deactivate other chat plugins temporarily
Still stuck? Contact BuiltABot support with your website URL and project ID. Our team helps you troubleshoot installation issues typically within 24 hours.
Getting Started Today
You now have complete installation instructions for every major website platform. Here is your action plan:
This Afternoon (30 Minutes Total)
- 2:00pm - 2:10pm: Sign up for BuiltABot free trial (no credit card needed)
- 2:10pm - 2:15pm: Create Your Agent, choose brand color
- 2:15pm - 2:20pm: Get your embed code from Customize tab
- 2:20pm - 2:30pm: Install on your website using platform method above
- 2:30pm - 2:45pm: Test on desktop and mobile
By 3pm, your website has a working AI chatbot! It may not be perfectly trained yet, but it is installed and functional. Spend the next few hours training it on your content (upload documents, crawl website), and by tomorrow morning, you have professional 24/7 customer support.
This Weekend (Full Setup)
- Saturday morning: Install BuiltABot on website (30 minutes using this guide)
- Saturday afternoon: Train BuiltABot on your website content and documents (1-2 hours)
- Sunday morning: Customize appearance and add Quick Replies (1 hour)
- Sunday afternoon: Test thoroughly, enable lead capture if desired (1 hour)
Monday morning: You have a fully functional, professionally trained AI chatbot handling customer inquiries while you focus on running your business. Total time investment: 4-5 hours across one weekend for a tool that saves 10-20 hours weekly ongoing.
The difference between websites that successfully implement AI chatbots and those that do not? Taking action. You have the complete installation guide. You know it takes 15-30 minutes. You know it requires zero coding. You know BuiltABot offers a free trial to test risk-free.
Start your BuiltABot free trial right now. Follow the installation method for your platform. By this time tomorrow, your website will have 24/7 AI-powered support capturing leads and answering questions automatically. The chatbot is waiting. Your customers are waiting. Let us make it happen today.